as a sensitive skin babe, i’ve had my fair share of being excited with a new product and rushing through the patch testing stage. you probably already know how the end of this story goes, and yes it includes many days of inflamed, dry, and itchy skin!
as loving as an ingredient may be, sometimes they just don’t agree with our skin – and that’s okay! this is why patch testing is so important and we encourage it with all of our products.
here’s my no-fuss guide to patch testing:
-
choose a test area
select a small, discreet area of your skin to test the product. my go-to areas are the inside elbow or inner wrist area. as these areas are sensitive, they’ll give you a good indication of how your skin might react.
-
apply a small amount
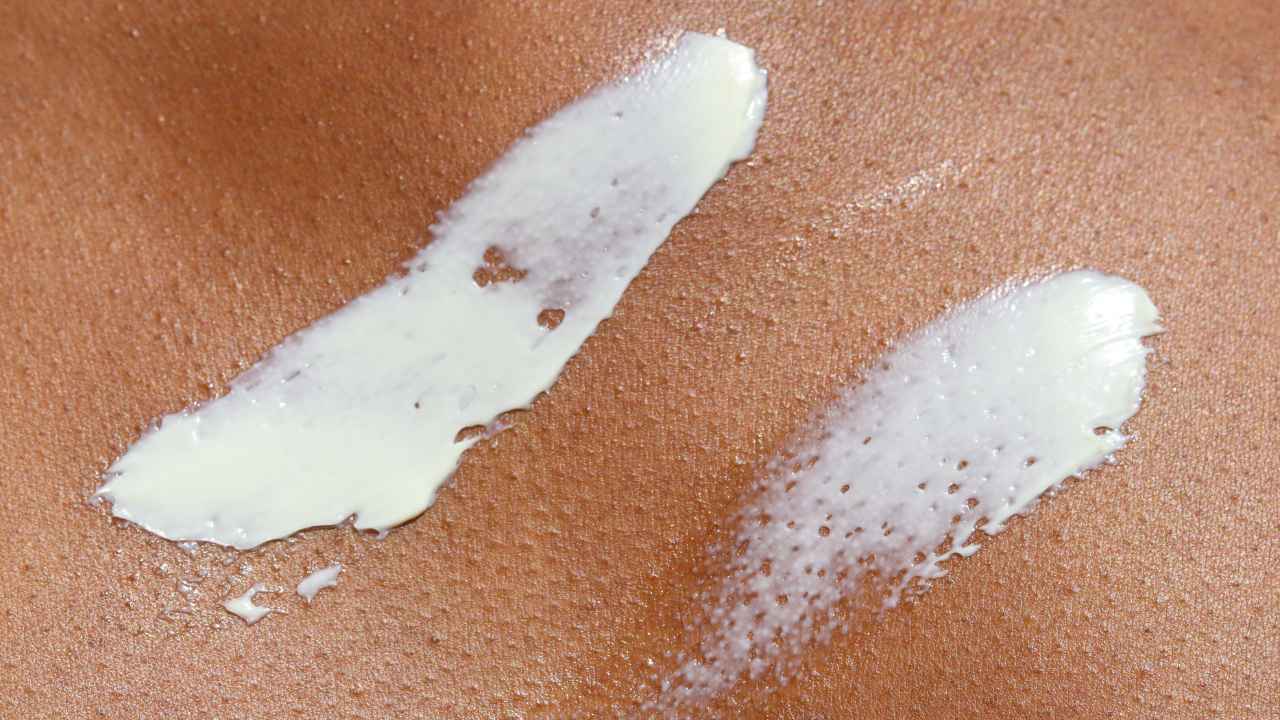
use a tiny amount of any of our products and apply it to the chosen test area. gently massage it in, just like you would if you were applying it to your entire body.
-
wait and observe
leave the product on your skin for 24 hours. during this time, avoid applying other products in that area. keep an eye out for any signs of irritation, such as redness, itching, or swelling.
-
check for reactions
after 24 hours, check the test area. if you notice any irritation, it’s best to avoid using the product on larger areas of your skin. if everything looks good, you’re ready to incorporate it into your routine!
tips for successful patch testing
- stick to one product: test one new product at a time to clearly identify any reactions.
- use fresh products: always use a new product from an unopened container to ensure you’re not testing an expired or contaminated product.
- be patient: even if you don’t see an immediate reaction, it’s best to wait the full 24 hours.
hopefully these tips will help you avoid any accidents and keep your skin healthy and happy!
Rashida x
leave a comment